One of my sister’s had a birthday this week and as she always sends me handmade cards I thought it would be a lovely idea to stitch her a pretty floral card as part of her birthday gift.
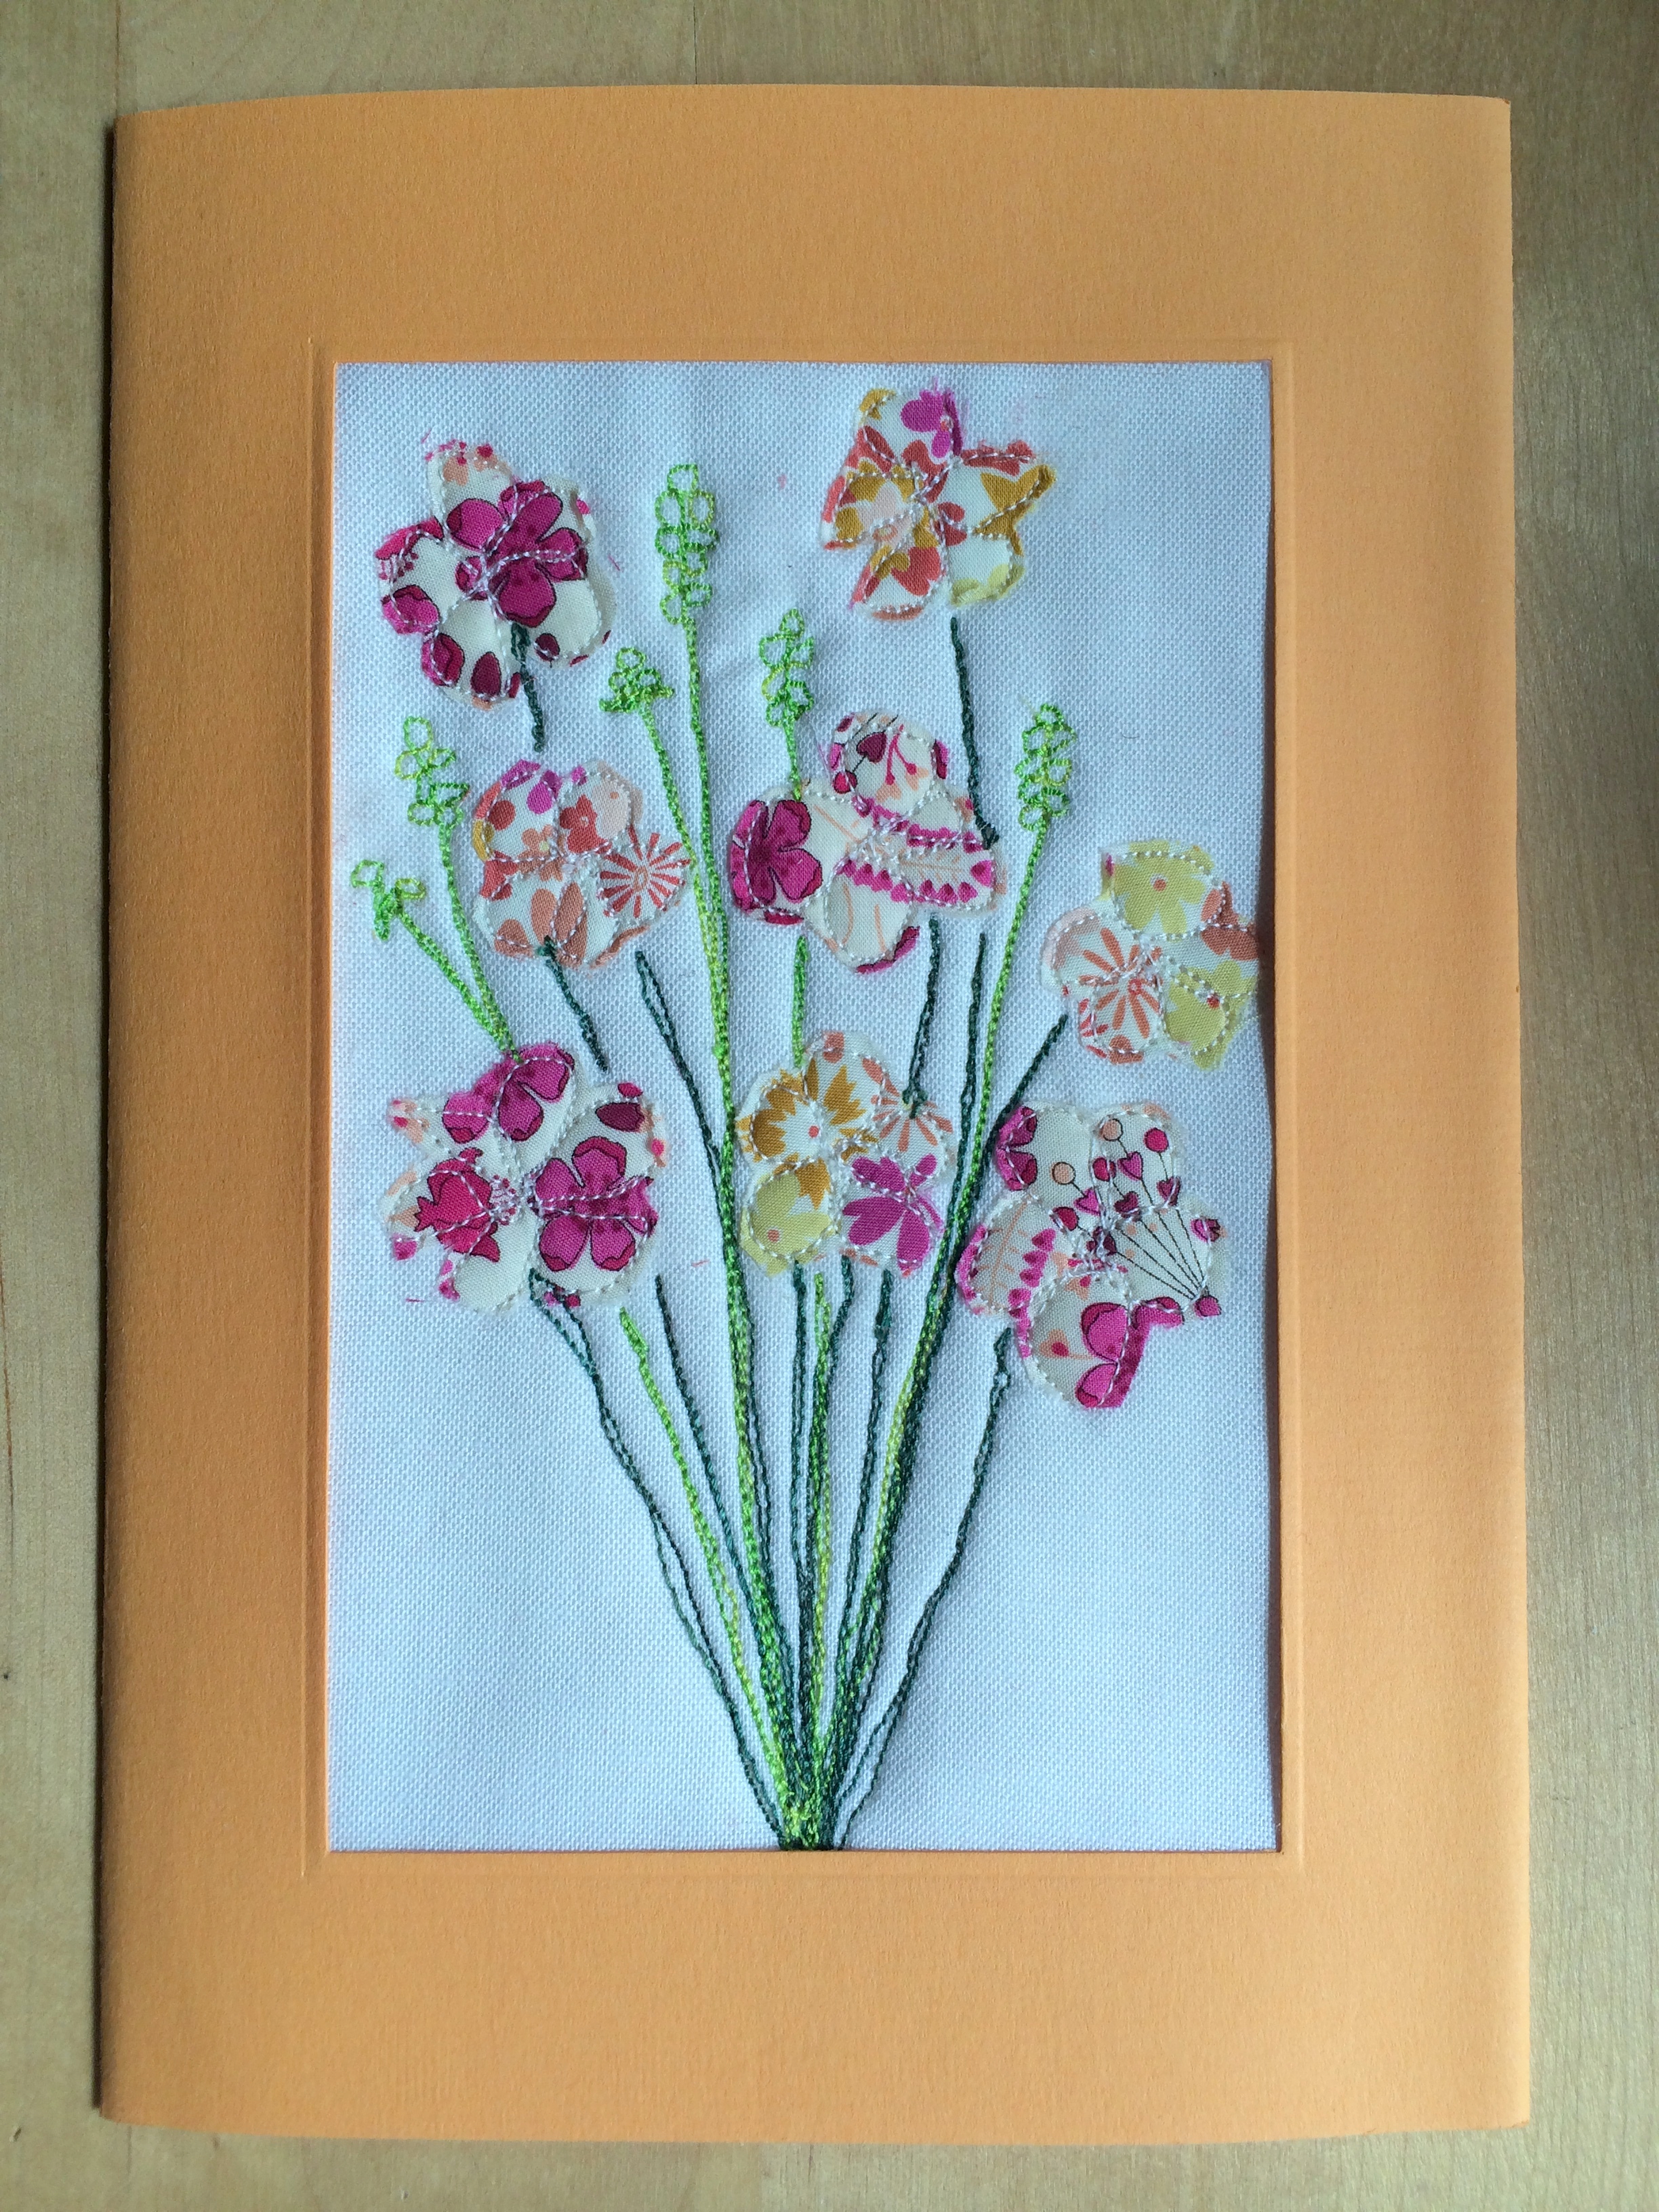 Although my card was made to celebrate a birthday it is quite perfect for so many celebratory ocassions, and with Mother’s Day right around the corner I thought it would be nice to share a quick tutuorial detailing how I made it. My version of the card involves free motion quilting, but if you can’t fmq then you could try some embroidery instead.
The materials you will need are as follows:
- One tri-fold aperture card
- One piece of background fabric the size of your card
- A piece of batting or fusible fleece the size of your card
- Scraps of fabric, I used some floral Liberty lawns for mine
- Basting glue (optional)
- Thread
- Scissors
- Glue (suitable for fabric and card)
If you have chosen to use fusible fleece then start by fusing it to the wrong side of your background fabic. If you are using normal batting then simply place your background fabric on top of your batting and you are ready to start creating your picture. You could use a little basting spray to baste the two layers together if you like but to be honest unless your card is particularly large you should not need to baste.
From your chosen fabrics roughly cut a set of circles that will be the basis of your flower heads. Secure the first of these circles in place using a rough fmq floral outline.
 Trim the circles following the outlines of your fmq to reveal floral shapes.
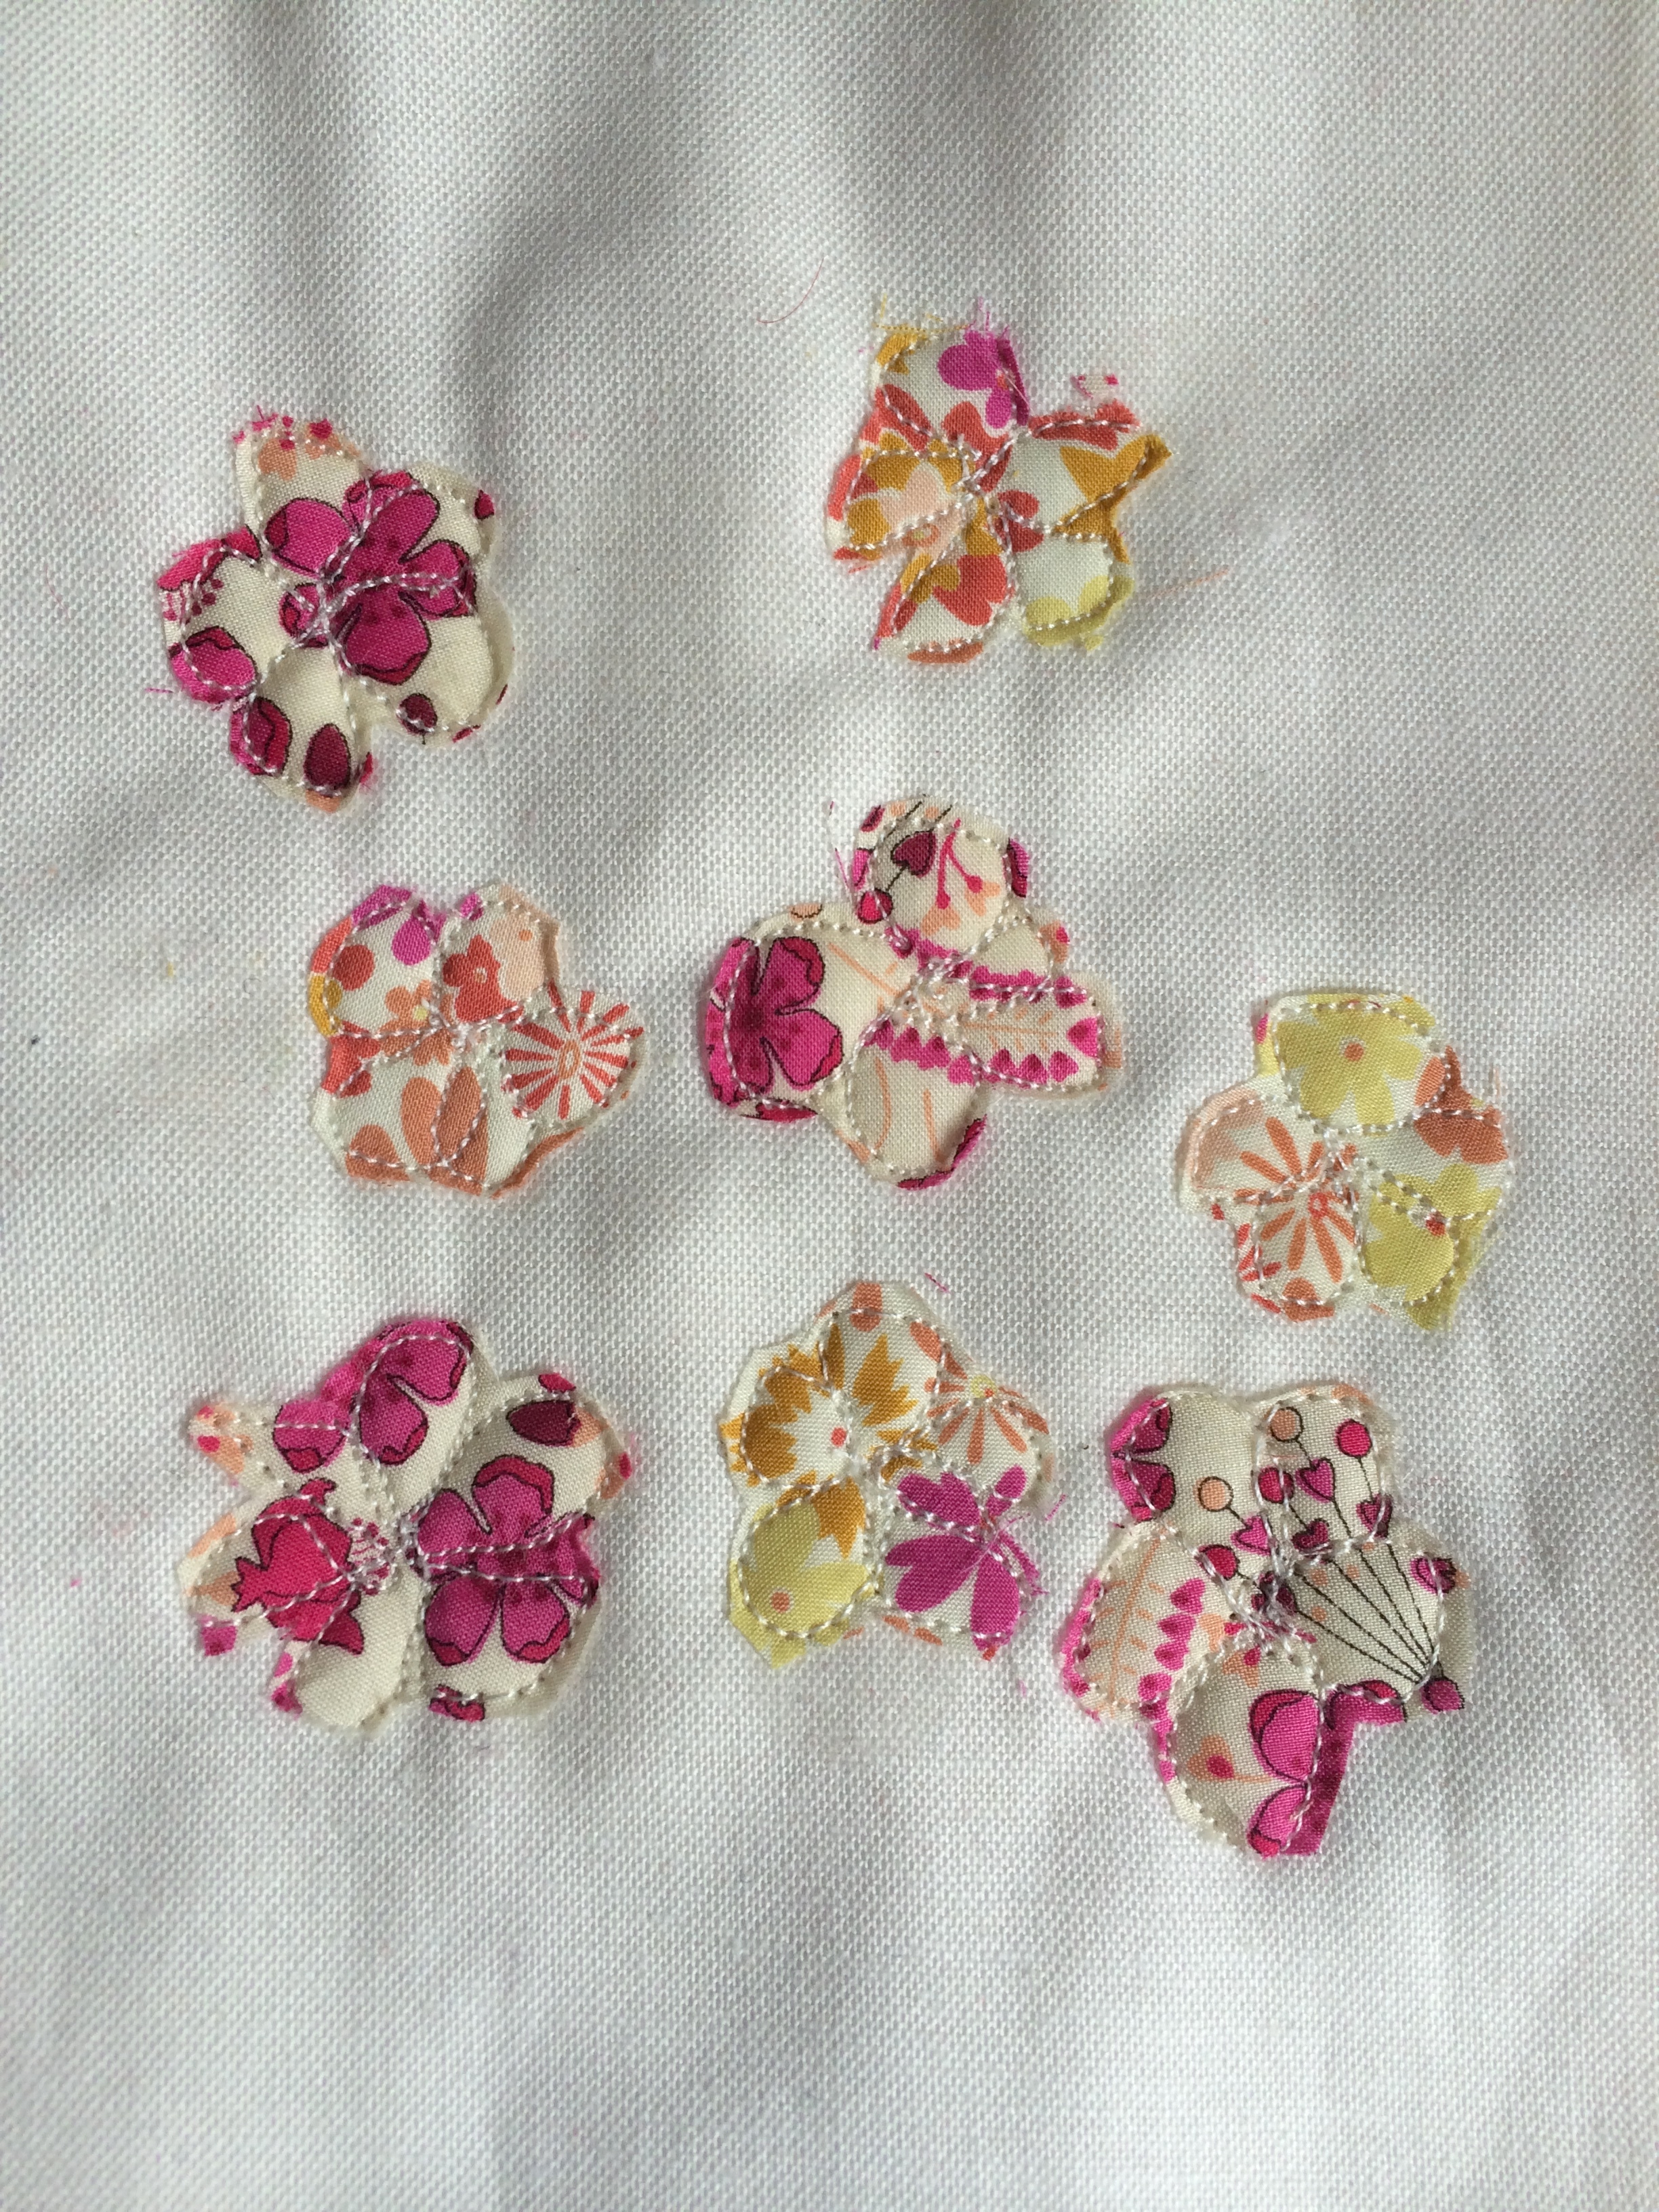
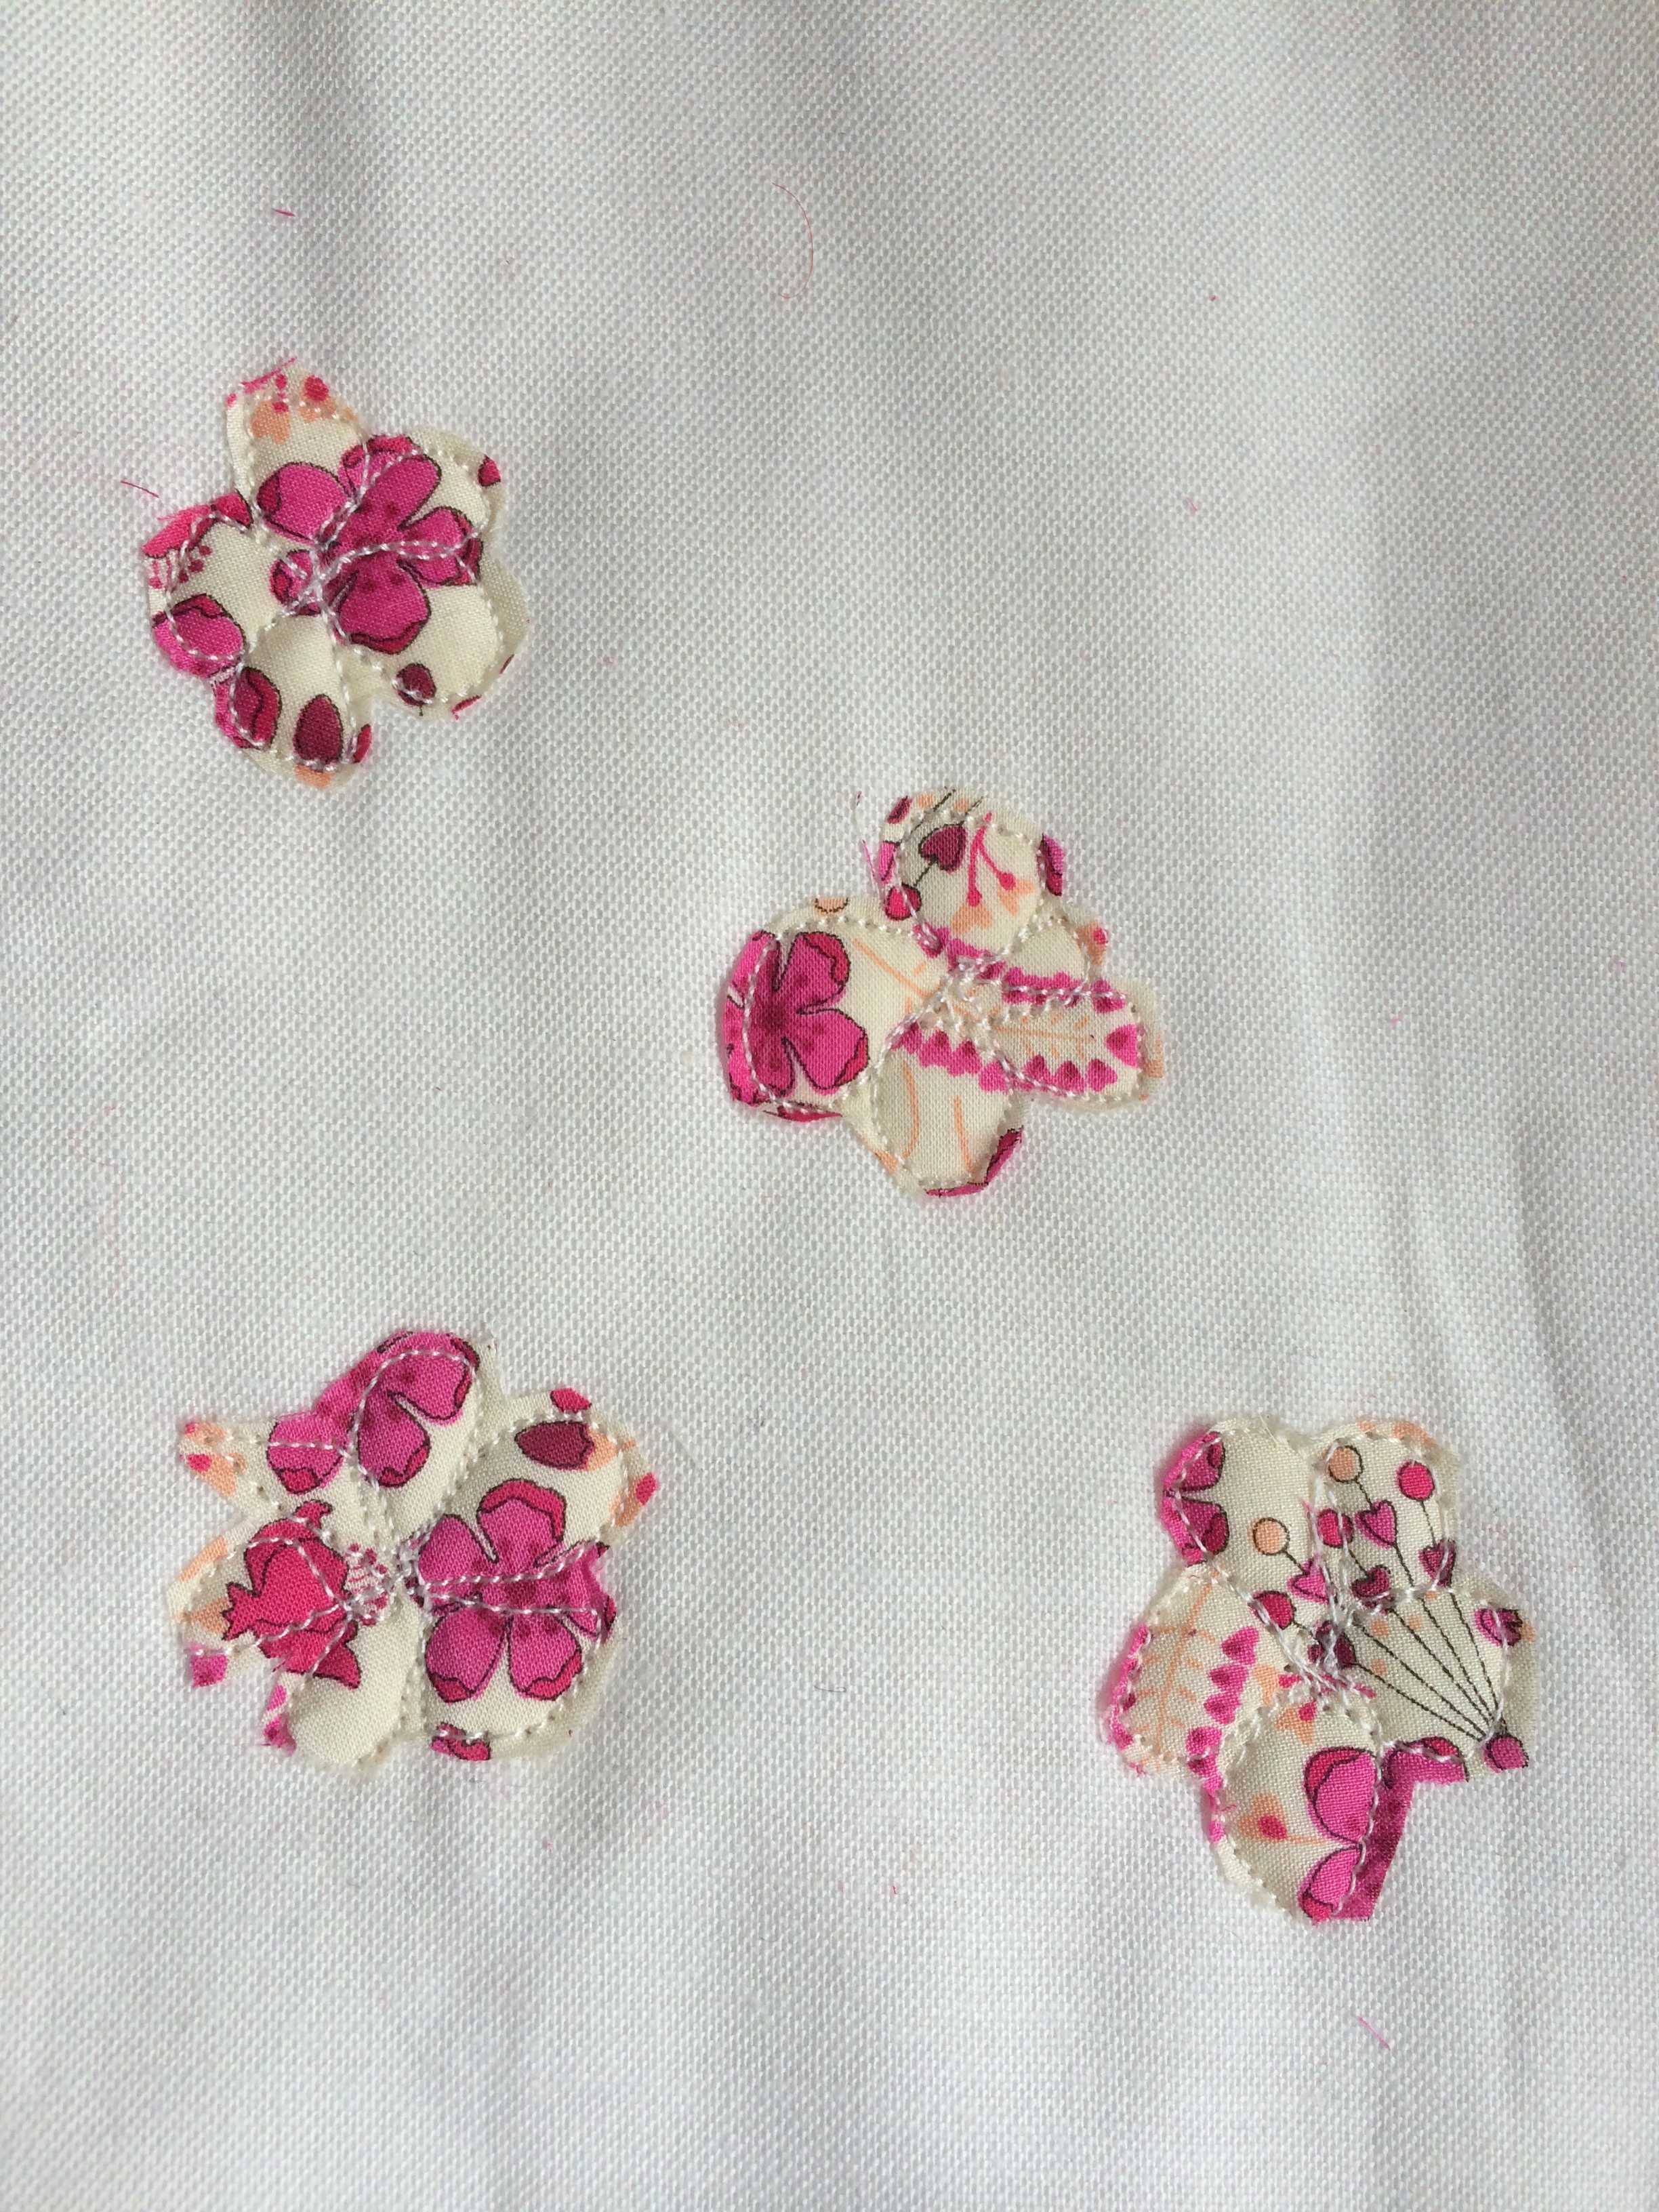 Continue adding, stitching and trimming more circles till you have as many flower heads as you like. I find it best to add the circles in batches because this way you can easily overlap flowers if you so wish.
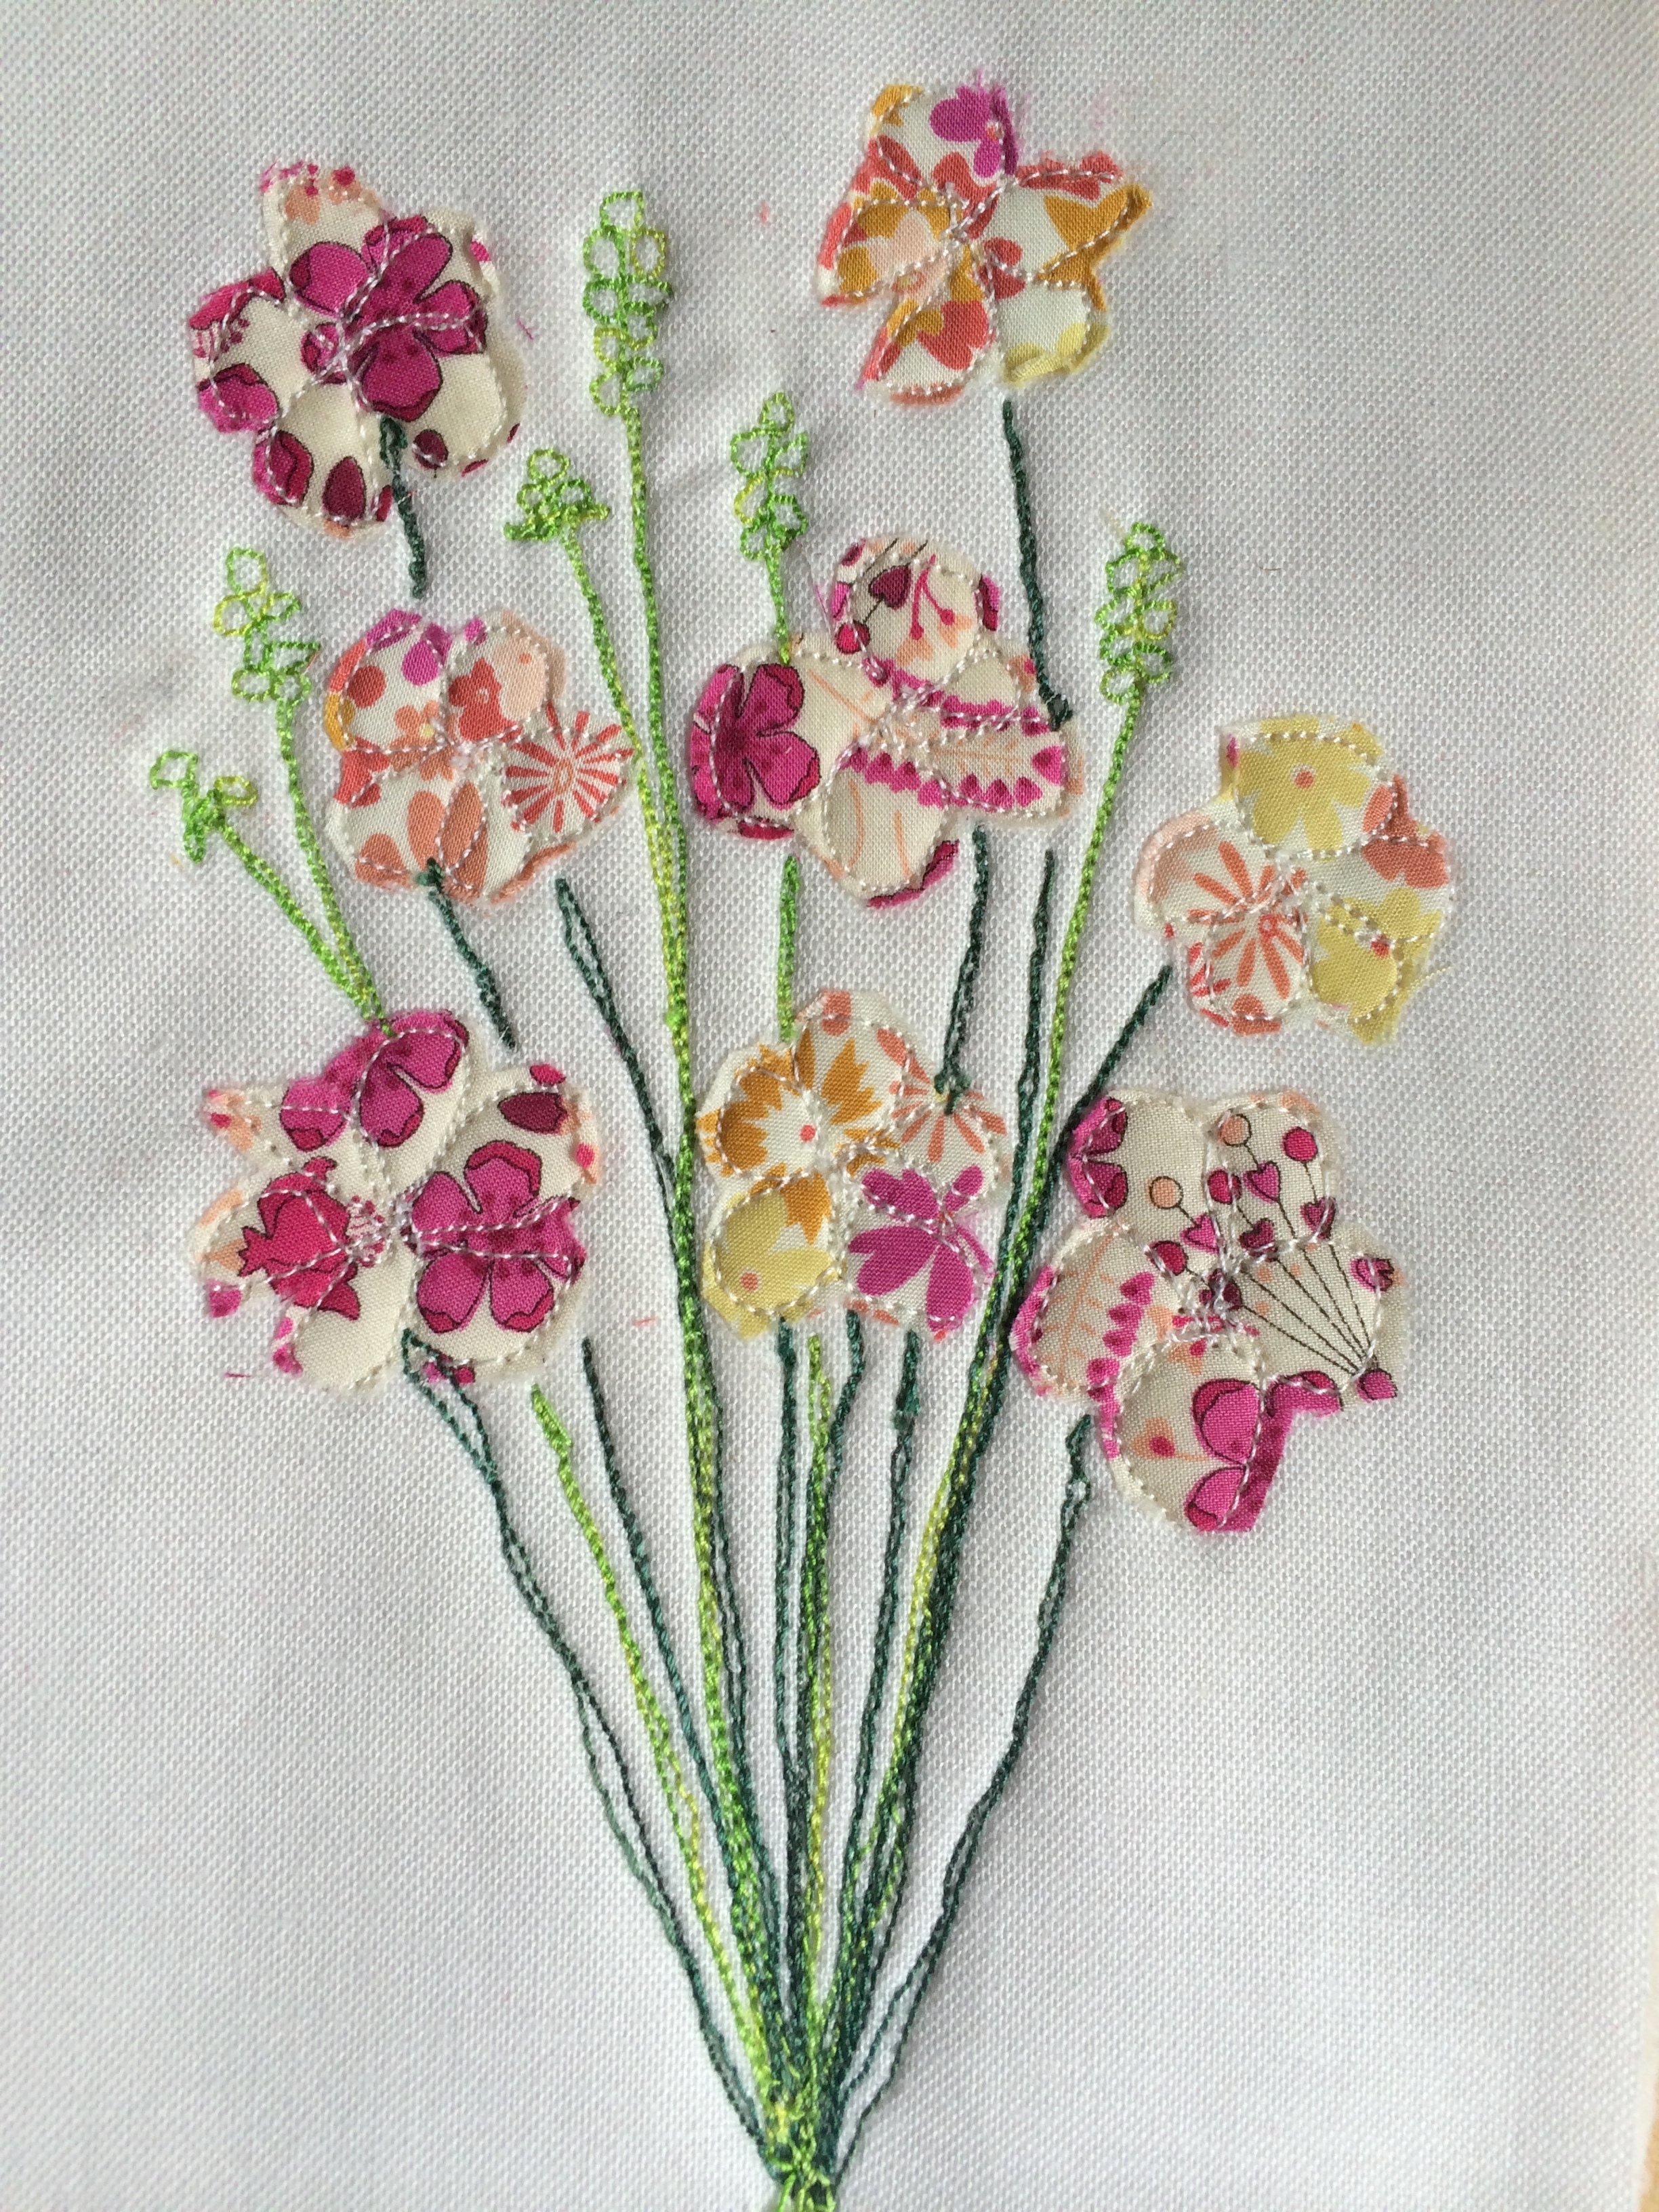
 Once you have the desired number of flowers, add stem and any other detailing you wish using fmq, straight line stitching, embroidery or any other method you choose. I’m guessing fabric pens or paints could also work great at this stage.
 To finish the card trim the finished picture so that it is larger than the apperture of your card, but smaller than the overall size of the card. Glue the picture in place behind the aperture and you’re done.

Lovely card Paula, I am sure that your sister will love it.
Lovely idea Paula gorgeous card
This card will be a lovely keepsake for your sister.
How very clever! I wish I’d seen this before mother’s day, it certainly would have been a perfect card to give to Mum. I’ll have to pin this post for later!
Love the postcard with all those lovely Liberty flowers