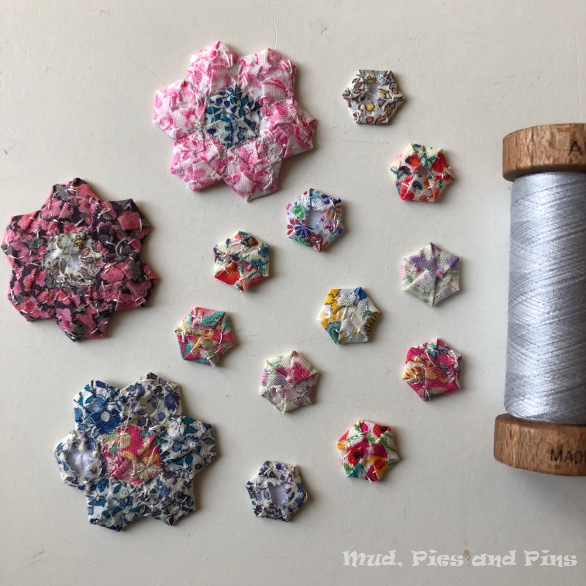
I was recently asked on Instagram what the back of my micro EPP hexies looked like, and how I basted them. Although I answered that question there at the time, I thought I would take the opportunity to talk a little here about how I prepare tiny pieces for EPP (English Paper Piecing) projects.
Before I start let me say that there are many different ways that people baste and prepare their EPP pieces. I don’t think there is a definitive way, a right way or a wrong way. There is the way that works best for you, so if you are new to EPP I encourage you to try different methods and find out what suits you best. Glue basting is very popular, but not with me. While I am more than happy to spray glue baste whole quilts, I just don’t get on with glue basting EPP pieces. As a result, I sew baste all of my EPP pieces.
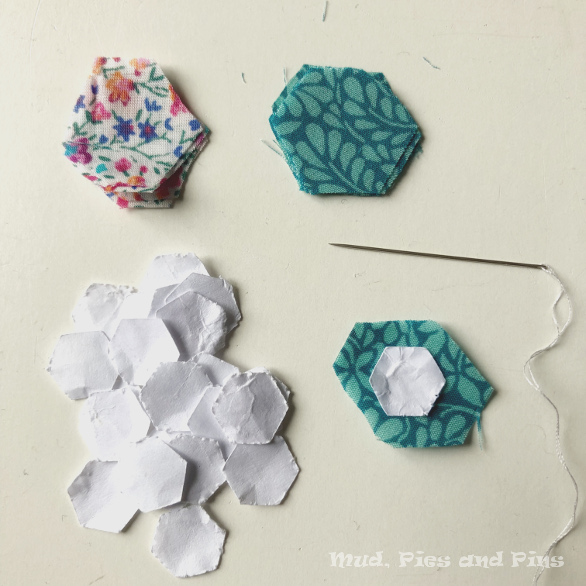
Because most of my EPP work is self-designed I generally print the papers on normal printer paper and then cut them out by hand. The only exception to this is when I am working with micro hexies. The ones I work with are slightly smaller than ¼” and as I use so many of them I get my husband to cut them in bulk on his silhouette cameo. The first batch we cut turned out a bit smaller than planned so I’ve stuck to that size ever since for consistency. I use printer paper rather than heavier card stock because I find the lighter paper much easier to remove at the end.
Liberty tana lawn is my fabric of choice for micro EPP projects. I find the lighter weight of fabric easier to handle and the tighter weave seams to leave it less prone to fraying. I have also used regular quilting cotton on several occasions and I find that it just needs a little more care and careful handling.
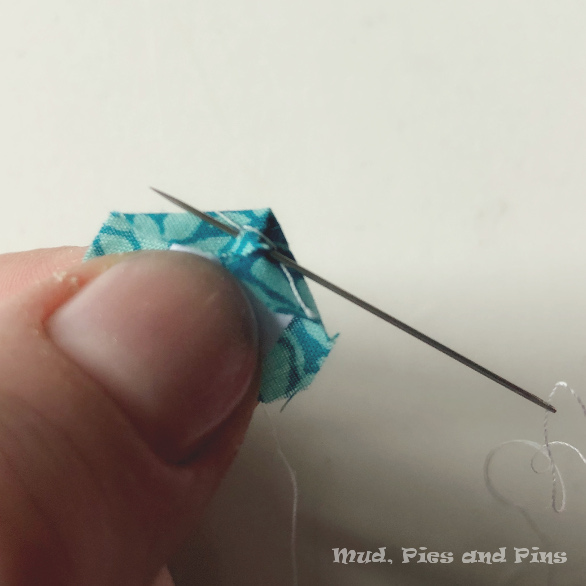
To baste the tiny pieces I use aurifil 80wt and a #10 (or finer) needle. Because the pieces are so small I simply pinch the pieces between my left thumb and forefinger to hold them in place as I sew with my right hand. To start, I fold the fabric over the first corner and catching it in place with a double stitch. Because the pieces are so small I do not need to stitch through both paper and fabric, but can simply stitch down each of the fabric corners as I go a round the piece at the back.
I slowly work my way around the shape folding and catching each corner as I go and I finish with the same double stitch and short tail. Because I leave these stitches in the finished piece I prefer not to add knots.
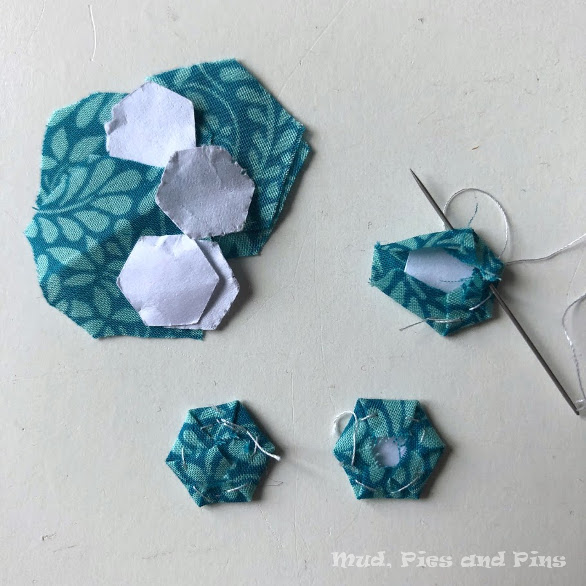
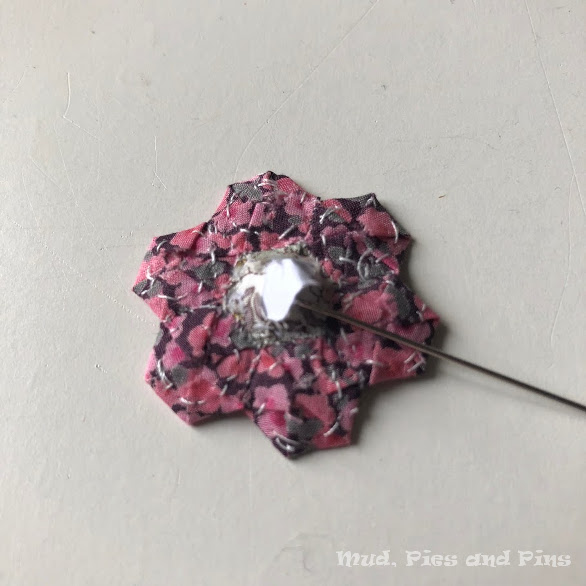
Once the pieces are basted I stitch them together with a whip stitch as I would any other EPP pieces. I do not remove the papers until I have completed the piece I am making. When it is time to remove the papers I start by giving the finished piece a good press with a dry iron. Once it is cool I remove the papers by popping them out through the central gap at the back using a blunt tipped sewing needle. Unless the papers rip in the process I usually find that I can get a couple of uses out of them before I have to replace them, which is why the papers you see above all look a little worn and creased.
Micro EPP is definitely challenging, but I also find it fun and relaxing at the same time. The micro EPP projects I have worked have all been small. I love using micro EPP projects to embellish small items such as fabric Artist Trading Cards or fabric pouches. I also use it to make mini quilts such as coasters and mug rugs. What about you? Have you tried working with tiny EPP pieces at all, and if so do you have any tips or tricks to share?

One thought on “Micro EPP – How to Sew Tiny Pieces”