Today I’d like to share with you some of the sewing I did at the Peaks retreat. The retreat was organised such that there was a nice balance of project time and free swing time. This meant that we not only had time to work on and complete what we worked on during project time but that we also had time to work on a few of our own projects as well.
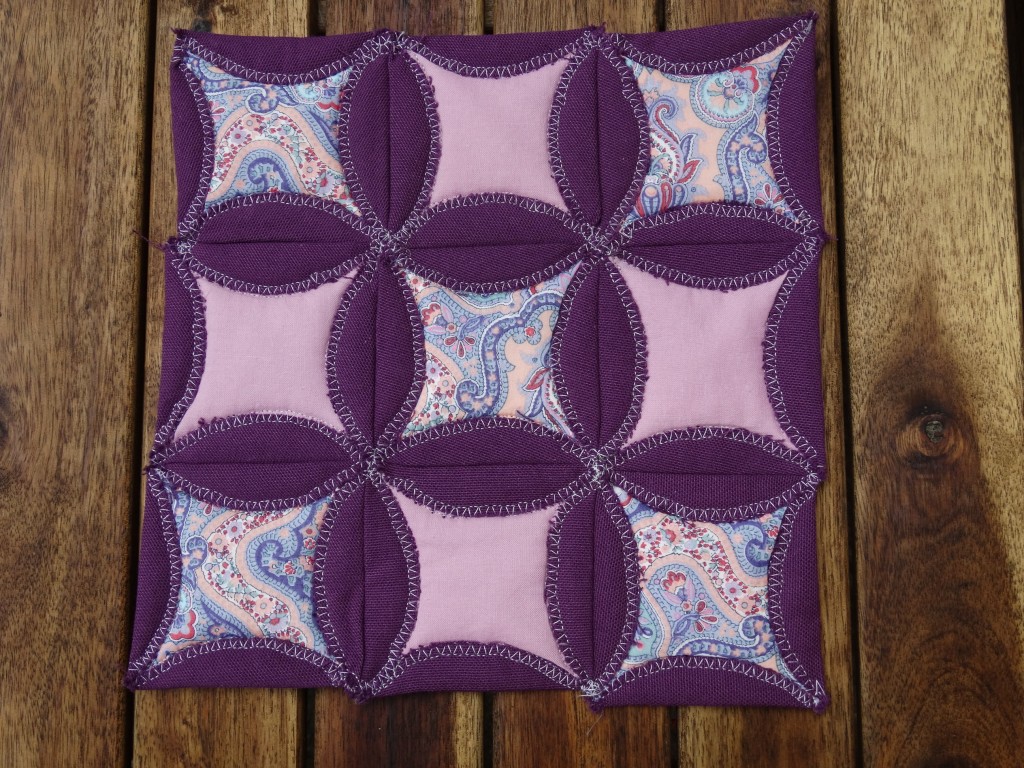
The first project that I’d like to share today was my “Stash Attack” make. This was a really fun project. We learned how to use a rotary compass cutter to cut perfect circles of canvas fabric that were then combined with some batting squares and scraps of matching fabrics to create a mock cathedral window table mat.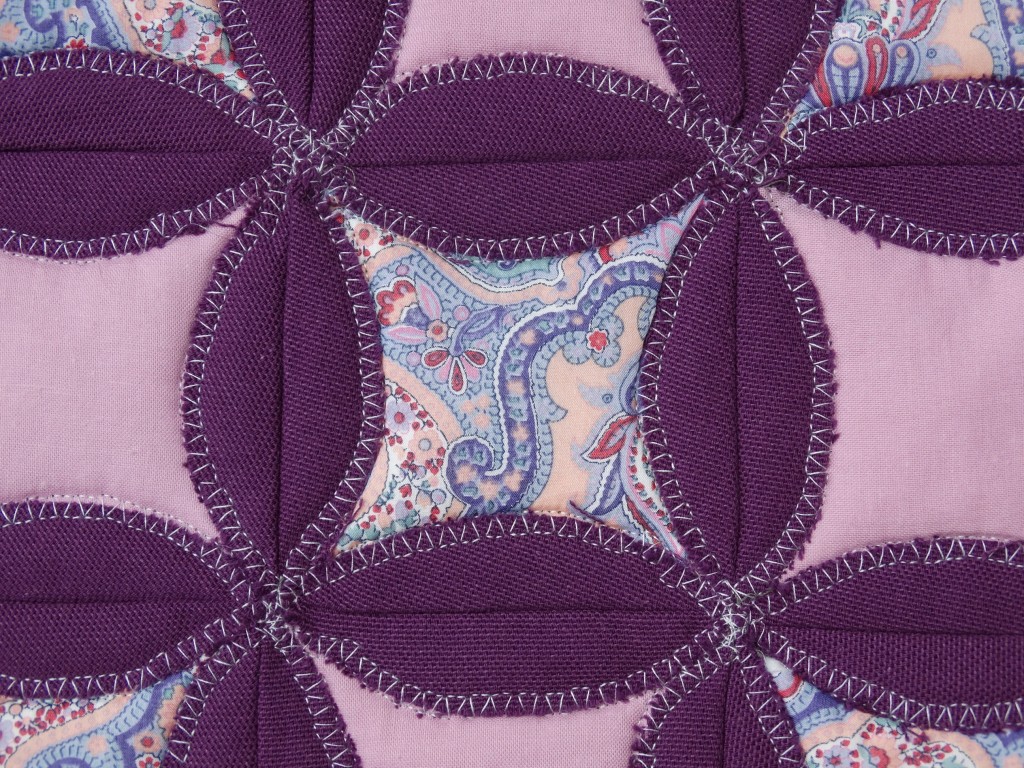 I did run into a few problems getting the edges of my mat perfectly straight but nonetheless I’m very pleased with how this turned out for a first effort, and as I couldn’t resist purchasing a compass cutter of my own this is one project I’m defintiely going to be making plenty more of.
 On the Saturday morning of the retreat there was a choice of project/class. We got to decided between making a laminate tote or working on our machine quilting. Eager to get some tips on free motion quilting I opted for the machine quilting class and I was so glad I did. Before this I can honestly say that my free motion quilting has been a disaster and wasn’t something I was keen to work on at all. After learning a few simple tips and tricks I got to stitching and when you see the results I think that you too will agree that my fmq, although far from perfect, is now very far from disasterous.
We started by creating a plain quilt sandwich that we then simply marked into sections using erasable fabric pens. The first thing we were asked to stitch was our name and after giving it a little thought I just set to it and stitched it out.
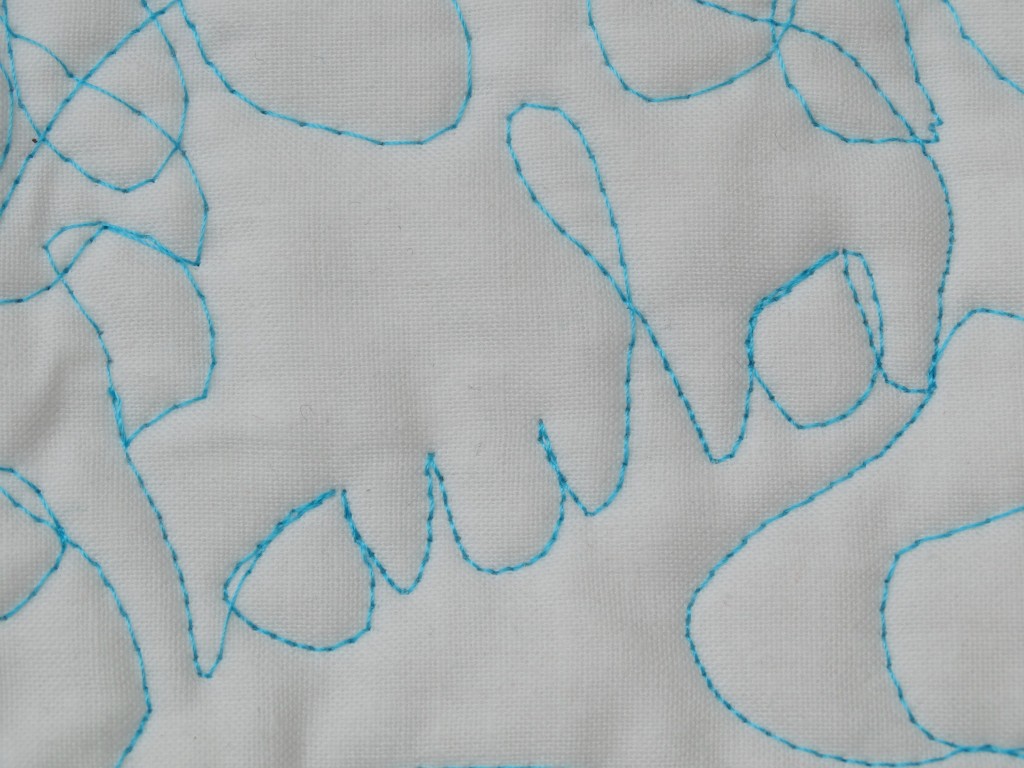 We were then asked to continue filling in that section however we pleased so I set to simply getting the feel for the motion with squiggles and curves.
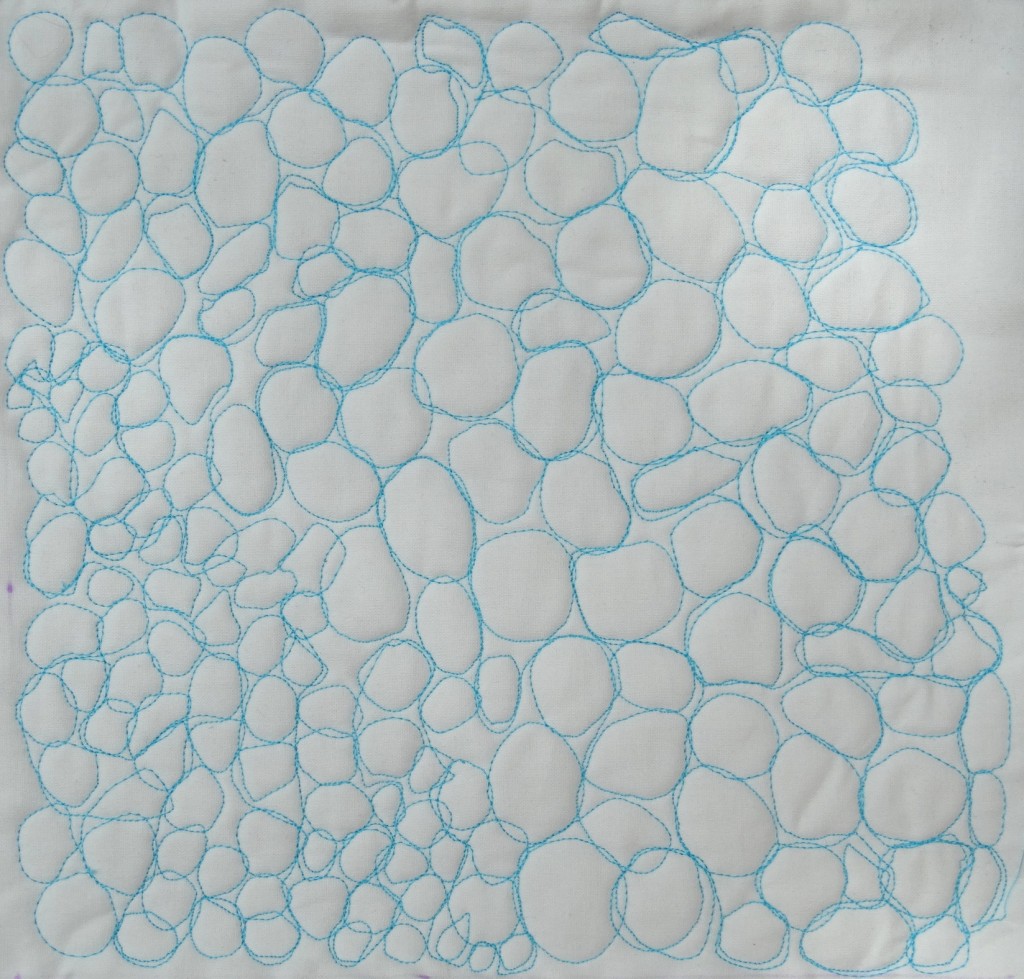
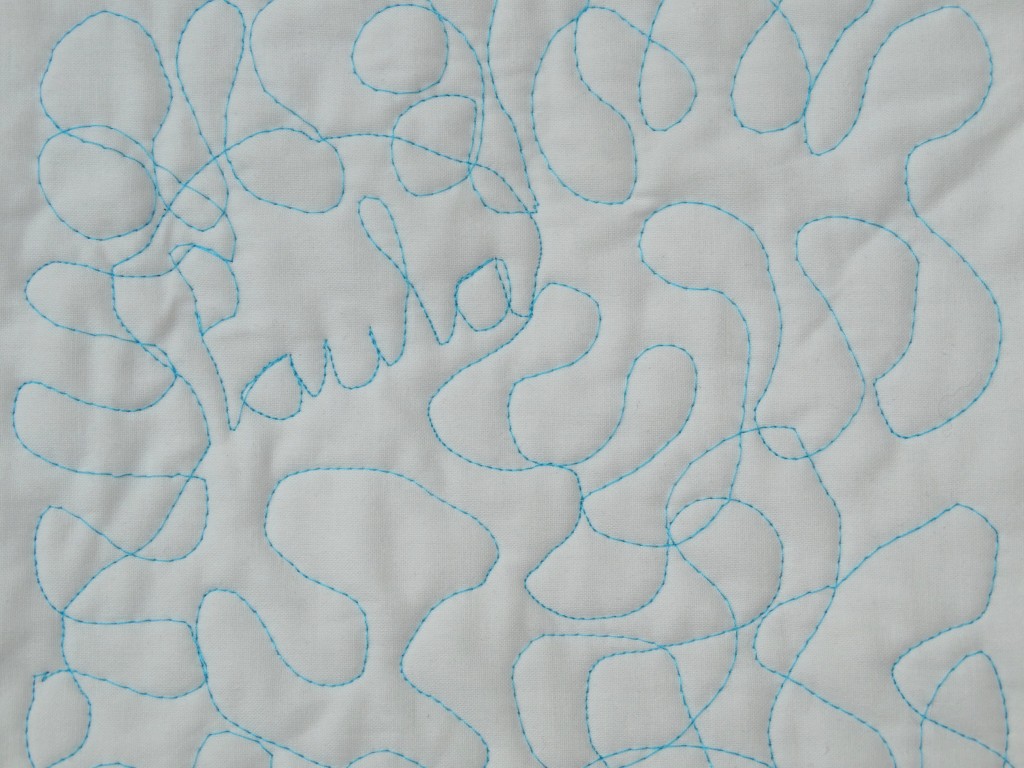 For the next section I dedcided to try my hand at some pebbling. I like to think of the result as organic pebbles. I started off small, then increased the size of my organic pebbles and was surprised at how quickly I could fill in the section.
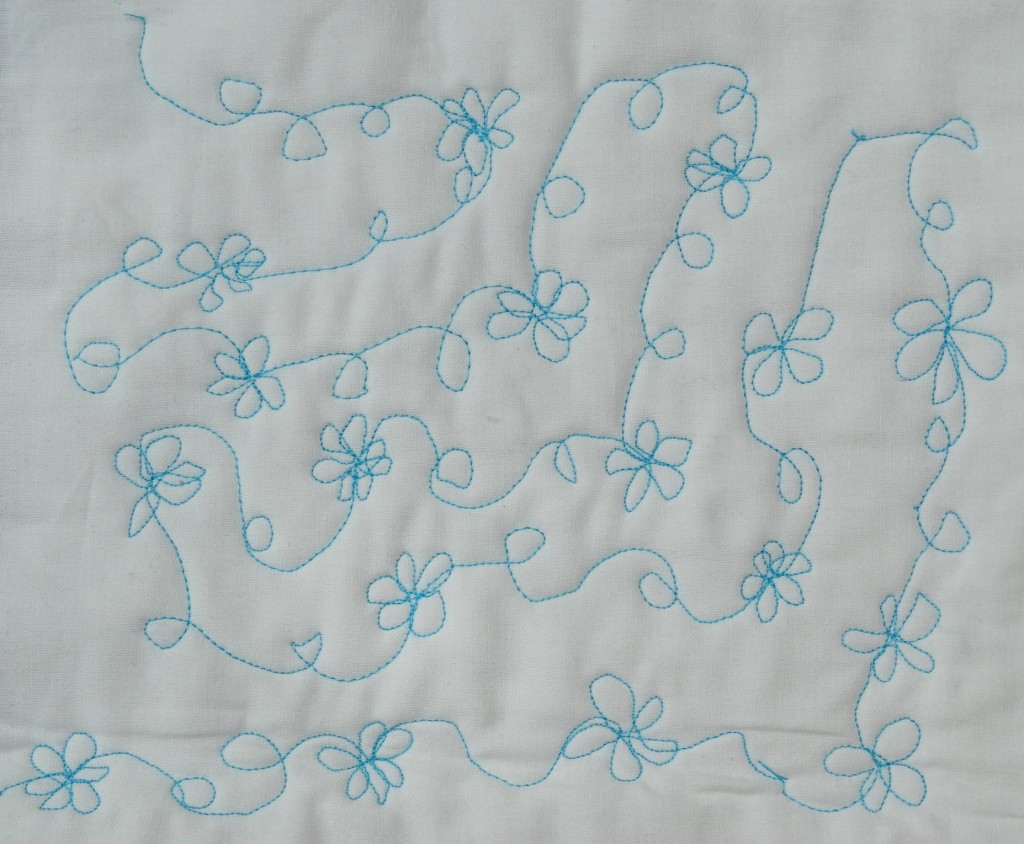
 I then moved on to attempting some simple floral chains. These defeated me a little, in that I wasn’t getting the floral design I was aiming for but the more I stitched the more I became aware of where I was going wrong with the design and I have since figured out how where and how I need to change the direction of my stitching to get the result I was originally aiming for.
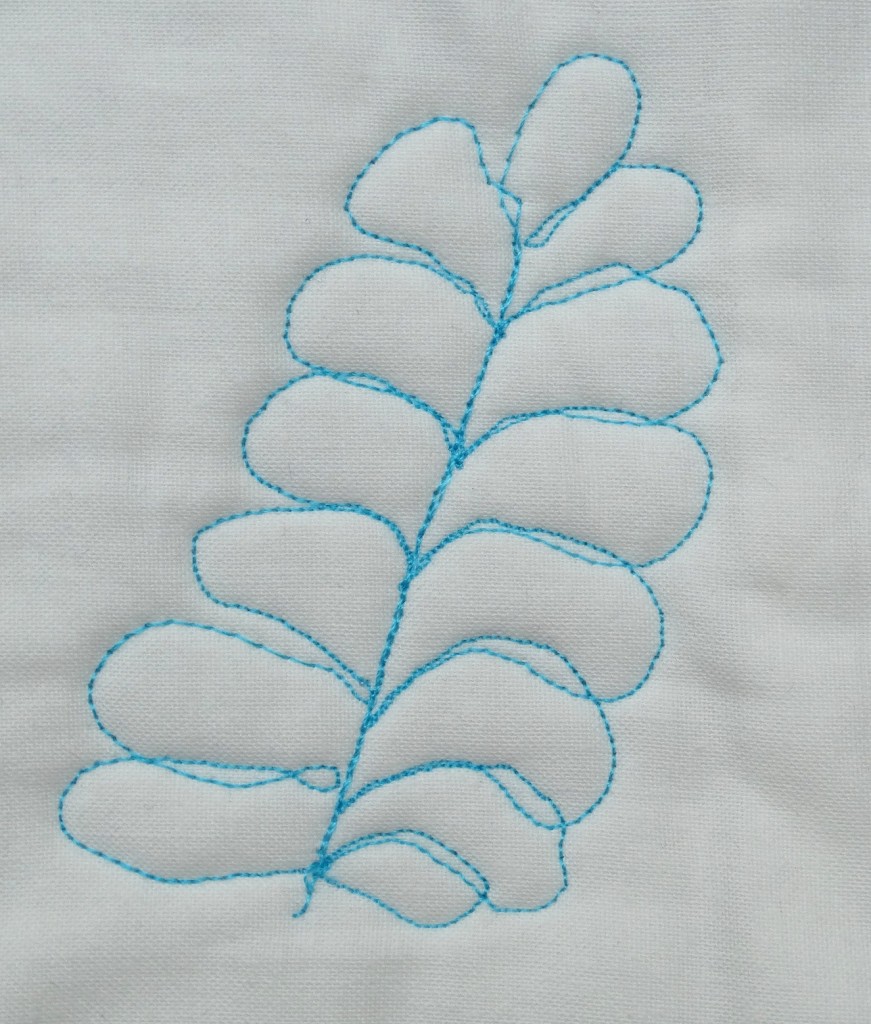
 The last piece I worked on was an attempt at some feathering. I completed one short feather before running out of bobbin thread and as it was mid afternoon at that stage I decided to switch back to completing the mystery quilt project that we had also been working on since the previous day (more about that another day).
 I can honestly say that I feel I made huge progress with my free motion quilting during that one class and a lot of that is down to three really good pieces of advice: 1) use a slider to help your quilt move more smoothly while you are quilting it; 2) use quilting gloves; and 3) if you machine has adjustable sewing speeds then you need to set it to high speed. I had read a lot about the use of sliders and gloves online, but it was only when I got a chance to actually try them out and found out the immense difference they made that I realised what I was missing in the past. Needless to say I now have both.
As for speed, I never realised just how important it was. High speed really does make a huge difference. Once I upped the speed on my machine there wasn’t an eyelash to be seen on the back of my quilt and I actually felt that I had more control over my quilting. I felt I needed to keep the quilt moving to achieve the results I wanted so I had less time to think about what I was trying to do which actually made the designs easier to stitch.
I no longer fear fmq, quite the contrary in fact, I am eager to get a quiet hour or two so I can sit down with my practice piece and work some more on my feathers before moving on to fill in the remaining blank spaces and I don’t think it will be too long before fmq starts to make an appearance on my quilts as well.

I find fmq really scary so I think my next purchase might be a set of gloves and maybe even a slider once I have looked up what a slider is and how it works. Thank you for sharing your advice and I can’t wait to see your mystery quilt! 🙂
Looking great Paula!! So glad you enjoyed the class. Always a treat for me to pass on good info. 🙂
Great job on the quilting! I will be taking a class this month to improve mine. As far as your block, I made one of those today for my quilt bee Überraschungsquilt. How funny…almost the same things.
Having someone on hand to help with fmq makes such a difference I think. I have the gloves and love them, have promised myself the slider but just not got around to ordering one. It sounds like I need to remedy that soon!
Great work with you FMQ – something that still terrifies me.