Red and white. Two colours that contrast starkly on so many levels but two colours that work wonderfully well together and that have long been used to create striking quilts of timeless beauty. When I read that SewCalGirl was making 2014 “The Year of Red and White Challenges” I was intrigued and started thinking about how I could make a red and white quilt of my own design.
 The current challenge is Design It! and this is the perfect starting point for me, a good chance to play with design ideas, to come up with a quilt design that really inspires me and makes me want to get sewing.
Because I have been working so much with my butterfly designs of late I couldn’t help but start by playing with one of those designs. Recreating the design in red and white, butterflies of different sizes fluttering about on a plain background, interspersed with octagonal QAYG blooms, all in subtly varying shades of red.
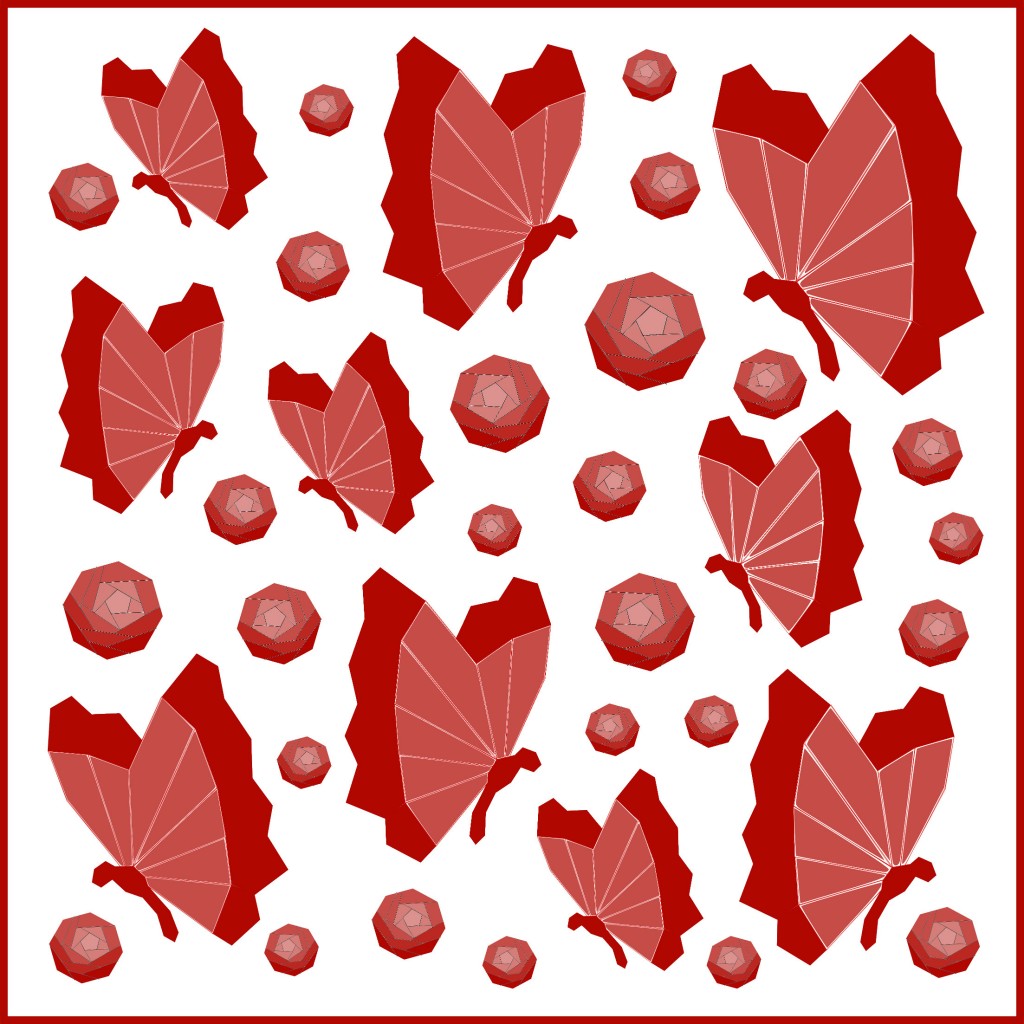 Much and all as I love this design I could not help but think it was a rehash or reworking of the type of design I was planning for my Liberty butterflies and so I sat down to plan once more. I still took much inspiration from my initial idea, from the octagonal shape of the QAZY blooms, from the EPP construction of the butterflies and from the different shapes employed in their making. After playing around with some vector drawings in Inkscape I came up with a starting design that was to be the basis of my red and white quilt blocks.
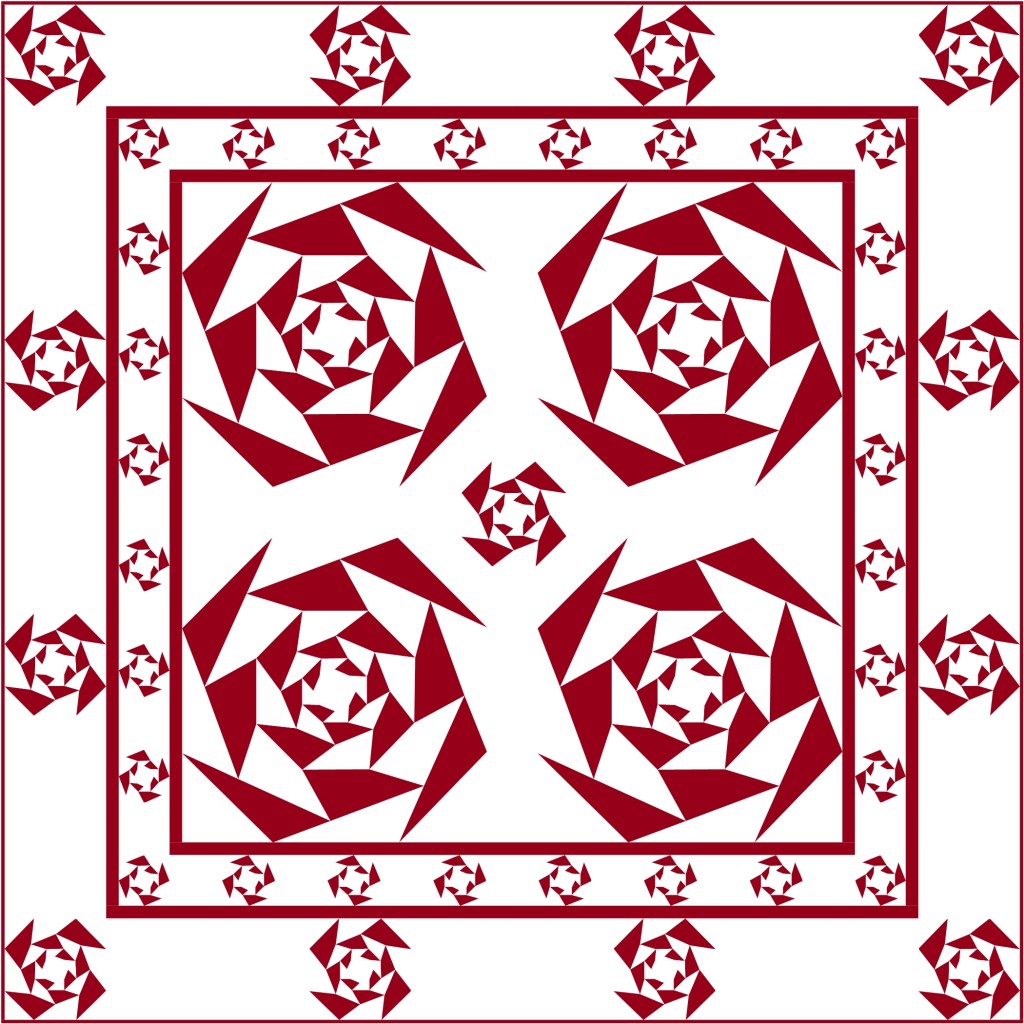
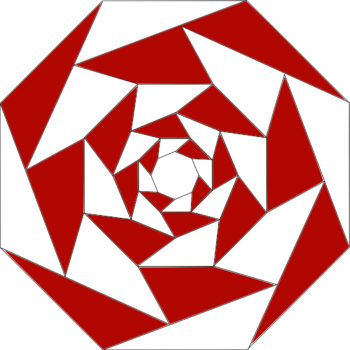 The next step was to design a quilt layout. At this stage I transferred my design to EQ7 so that I could redraw it as a quilt block and use it within different layout. I finally decided on a design that featured and highlighted the block in the central panel of the quilt, but also in the borders on a smaller scale. By decreasing the number of octagonal “rings” in the core design it was possible to create scaled versions of the block.
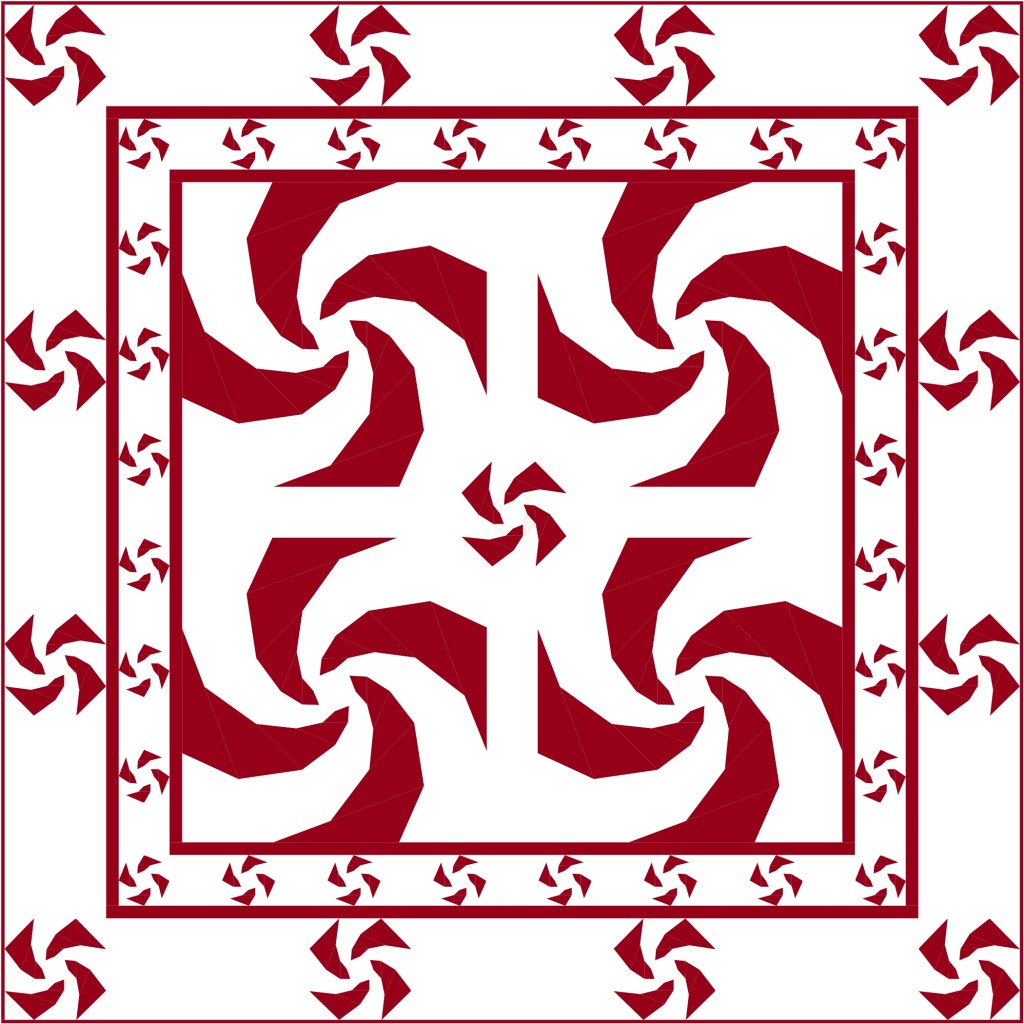
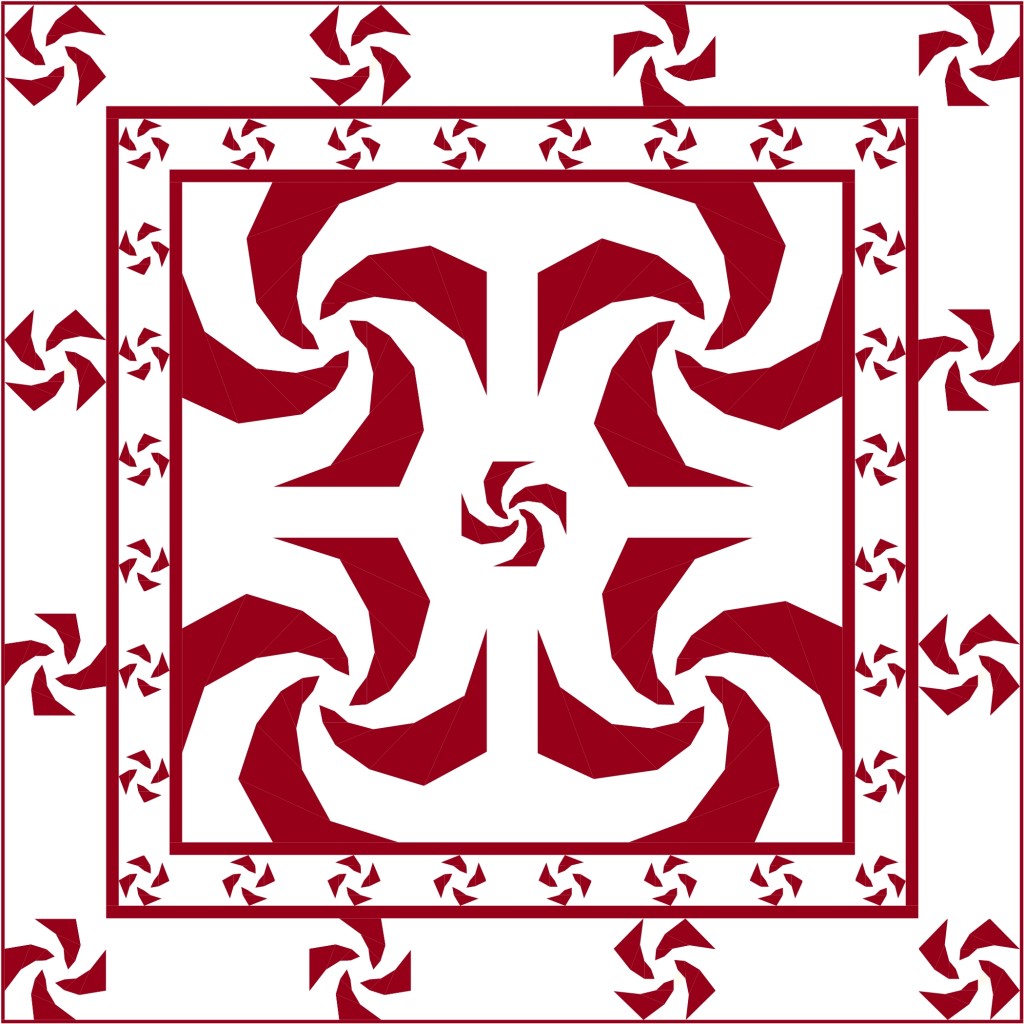
Once I had decided on the quilt layout I began to play around with small changes to the block design that resulted in quite major changes to the overall design. In the initial design the rays between each successive octagonal “ring” in the block ran in opposite directions resulting in the fractured design. By changing the rays so that they always ran in the same direction the result was either a clockwise of anticlockwise twist that could be used on their own or together to give interesting quilt designs.
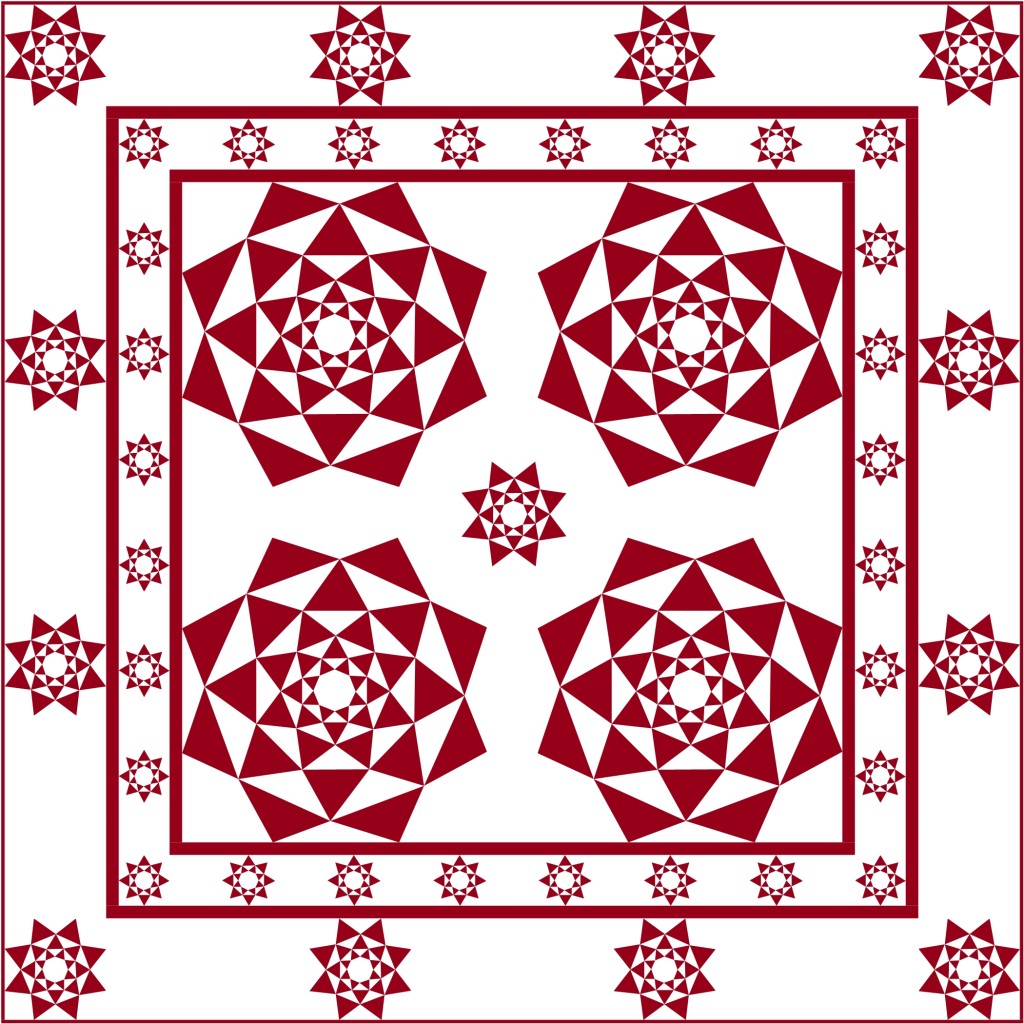
With the addition of extra rays to the initial design so that each octagonal ring was more highly fragmented the design became more lotus-like.
All of these designs rely on the shapes that are formed as each octagonal ring is divided up and as such all were designed to be pieced primarily using English Paper Piecing.
In my initial layouts the central blocks were 12” with the pieced borders 2” and 4”, separated by 0.5” sashing. Using blocks of these sizes would have resulted in lap quilts of 48” square. However, this would have meant that pieces in the 2” pieced blocks would have been quite tiny and while I do not generally have a problem working with minute EPP pieces they are quite time consuming and somewhat fabric limiting as only the light weight fine weave cottons are really suitable.
The final quilts now finish at 80.5″ square with each of the large central blocks finishing at 24″ square and the two borders at 4″ and 8″. EQ7 estimates that with a 0.5″ seam allowance (allowing extra for cutting EPP pieces) it would take approximately 8.5 yards of white fabric and 5.5 yards of red to make each of these quilts.
My next challenge will be to find the perfect fabrics with which to make one of these quilts for Phase 3 of the Challenge, Make It!

Scarlet Loti is fabulous!!