Several years ago I came across some unusually large acorns while on an autumn day trip with the boys. At the time we gathered a bag of them for crafting, and I quickly realised I could use English Paper Piecing (EPP) to create some little decorative fabric acorns.
Over the years I’ve made more EPP acorns on and off. Most have been gifted or used as decoration on gifts.
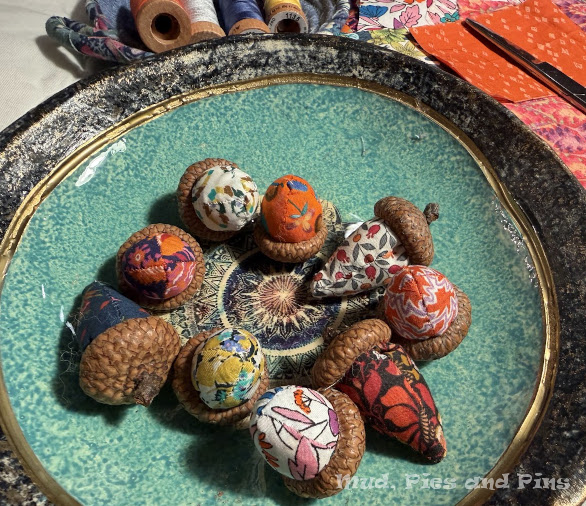
This year I pulled some Liberty prints from my stash to make a little decorative collection for myself.
When I shared this photo in some EPP groups on social media I was asked if there was a tutorial or instructions on how to make them so I thought it would be a good opportunity to write one. It’s a little bit rough at the edges as I only had a chance to snap some photos as I was working on an acorn that evening. Note that I was also trying out some 3D printed acorn tops my hubbie had made me so the turotial images feature those instead of real acorn tops.
To make the acorns you will need the following materials:
- acorn tops (gathered, bought or made are all fine just try to ensure they are all roughly similar in size)
- fabrics scraps
- your preferred paper/card for EPP
- thread that matches your fabrics
- sewing needle
- material to stuff the acorns (I use batting scraps, wadding for soft toys and crushed walnut shells if my acorns are to be pincushions)
- felt (optional) to cover the base of the acorn
- glue to finish (I use hot glue, any craft glue suited to fabric and whatever your acorn tops is made from will work
For the EPP acorn you first need to prepare your paper pieces. You can download and print the templates for the paper pieces I used or you can make your own. Not all acorn tops will be the same size but if you read the file carefully before you start it will give you the instructions on how to draw the paper templates to size and how to scale the templates I provide if you would prefer to use them.
Once you have your paper pieces use them to cut out your fabrics pieces. You will need four pieces for each acorn. The seam allowance should be approximately 1/4 inch all around.
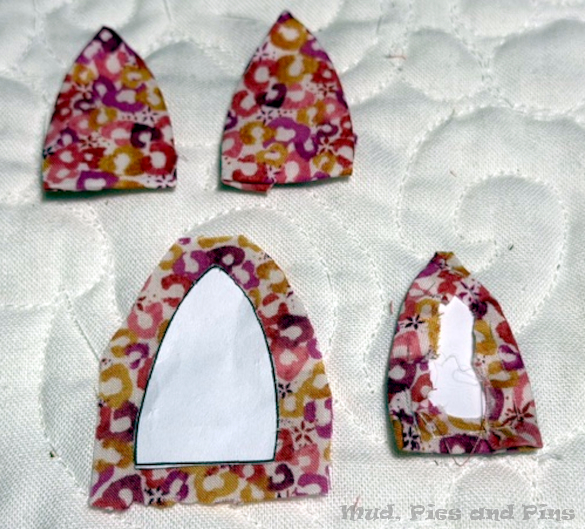
Use your preferred method of basting to cover the papers with the fabric. I prefer to thread baste, and use a small gathering stitch when basting around the curves of the pieces. If you are struggling with the small size of the pieces you can refer to my post on micro EPP which gives a few tips for working with small pieces.
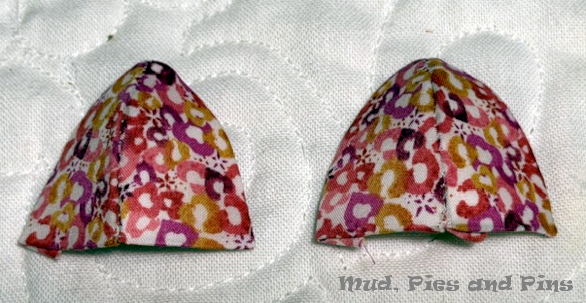
Once you have your paper pieces covered stitch them together in pairs along one side. This will give you two curved pieces.
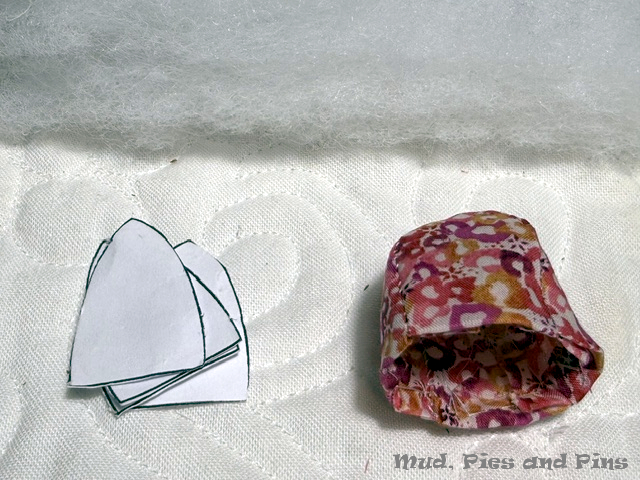
Place these pieces right sides together and stitch together along the curved edge. You can now remove the papers and turn your acorn right side out.
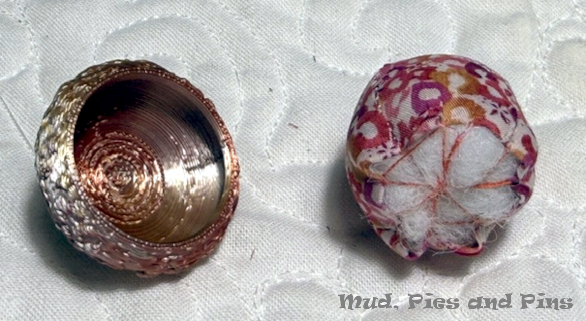
Stuff the acorn with your preferred stuffing. This year I was making decorative acorns so I simply stuffed them with some wadding and stitched over and back across the base of the acorn to hold it in place. You could also cut a small circle of felt and stitch this in place if you prefer (this is a good option if you want to use a stuffing like crushed walnuts to make the acorns into pincushions).
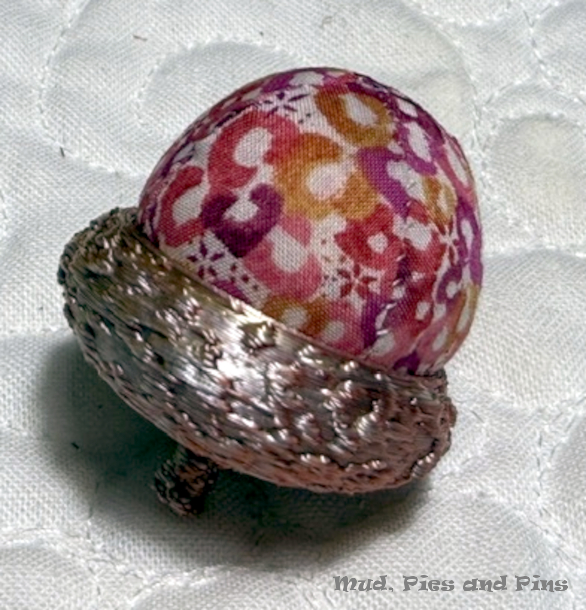
The finished acorn can now be placed into it’s top. It should sit snuggly in place on it’s own but to ensure it stay put you can use a dap of hot glue or suitable craft glue to secure it more firmly.
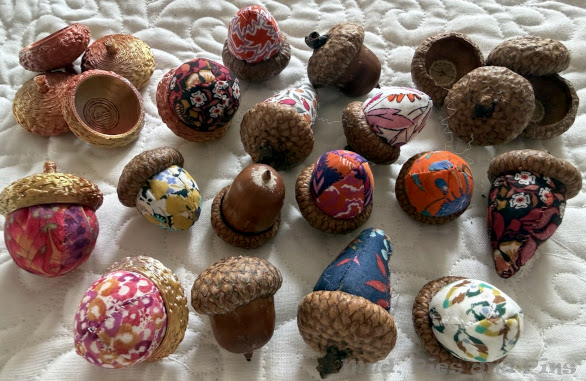
I do hope you enjoy making and using the little acorns. If you do make some I would love it if you tagged me on any photos of them you post online as I would love to see you creations. Happy English Paper Piecing all.
